My brother and sis-in-law have the most beautiful dogs. They also have just about everything they need. SO, it was an easy decision to create something for them for Christmas using pictures of their awesome dogs. My hubby made the frame from leftover wood flooring. He carved the bones on the frames using his band saw, chisel, sandpaper, and lots of patience. The bones are mounted using short wood screws. The frame is held together using wood glue. He stained it walnut.
Showing posts with label woodworking. Show all posts
Showing posts with label woodworking. Show all posts
January 4, 2015
August 30, 2014
HOMEMADE GARAGE CABINETS
My hubby and I needed a way to organize all of our garage mess - tools, yard chemicals, paint, dolley, nails, screws, etc. So, we built this huge cabinet out of MDF, plywood, 2x4s, and leftover scrap pinewood. We painted it dark grey. He routed "handles" into the doors - you can see a picture of those at the bottom. He also made a built in desk with built in LED lights.
It took forever to finish it, but it sure is nice to have now! Some things are definitely worth the wait :)
August 26, 2014
OAK STEREO CABINET WITH OLD RECORDS
We needed a place to put some of our stereo equipment and get it off the floor in the music room. Hubby designed and built this cabinet using very old oak that we found at a flea market, leftover oak floor pieces, and old records (Pink Floyd, Black Sabbath, and Iron Maiden). He used black paint on the inside and walnut stain on the outside. I just love it. It is one of his most creative pieces to date.
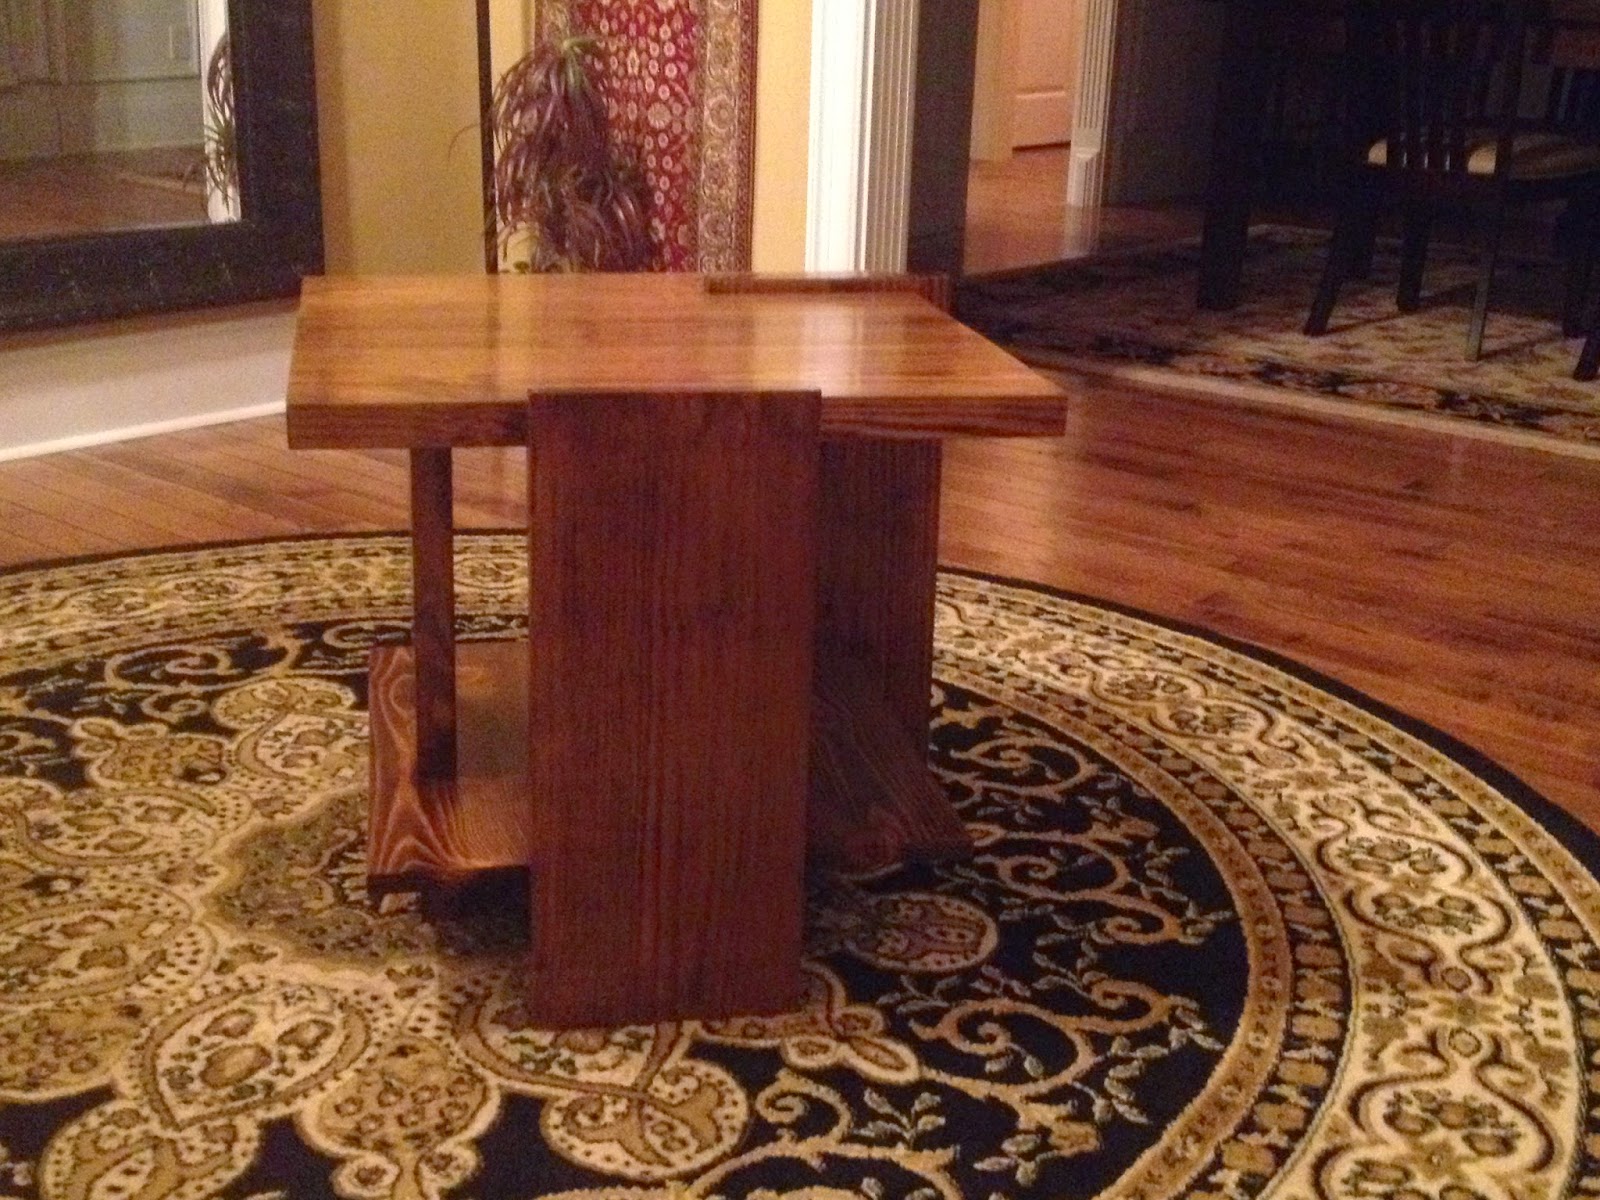
COUCH END TABLE
We needed a better end table for the family room. The hubs designed this one and built it using Japanese joints (no nails or screws, only interlocking wood and glue). We wanted it to be functional and appealing to the eye. There is a bottom shelf for storing our laptops.
I think it turned out pretty well.
June 14, 2014
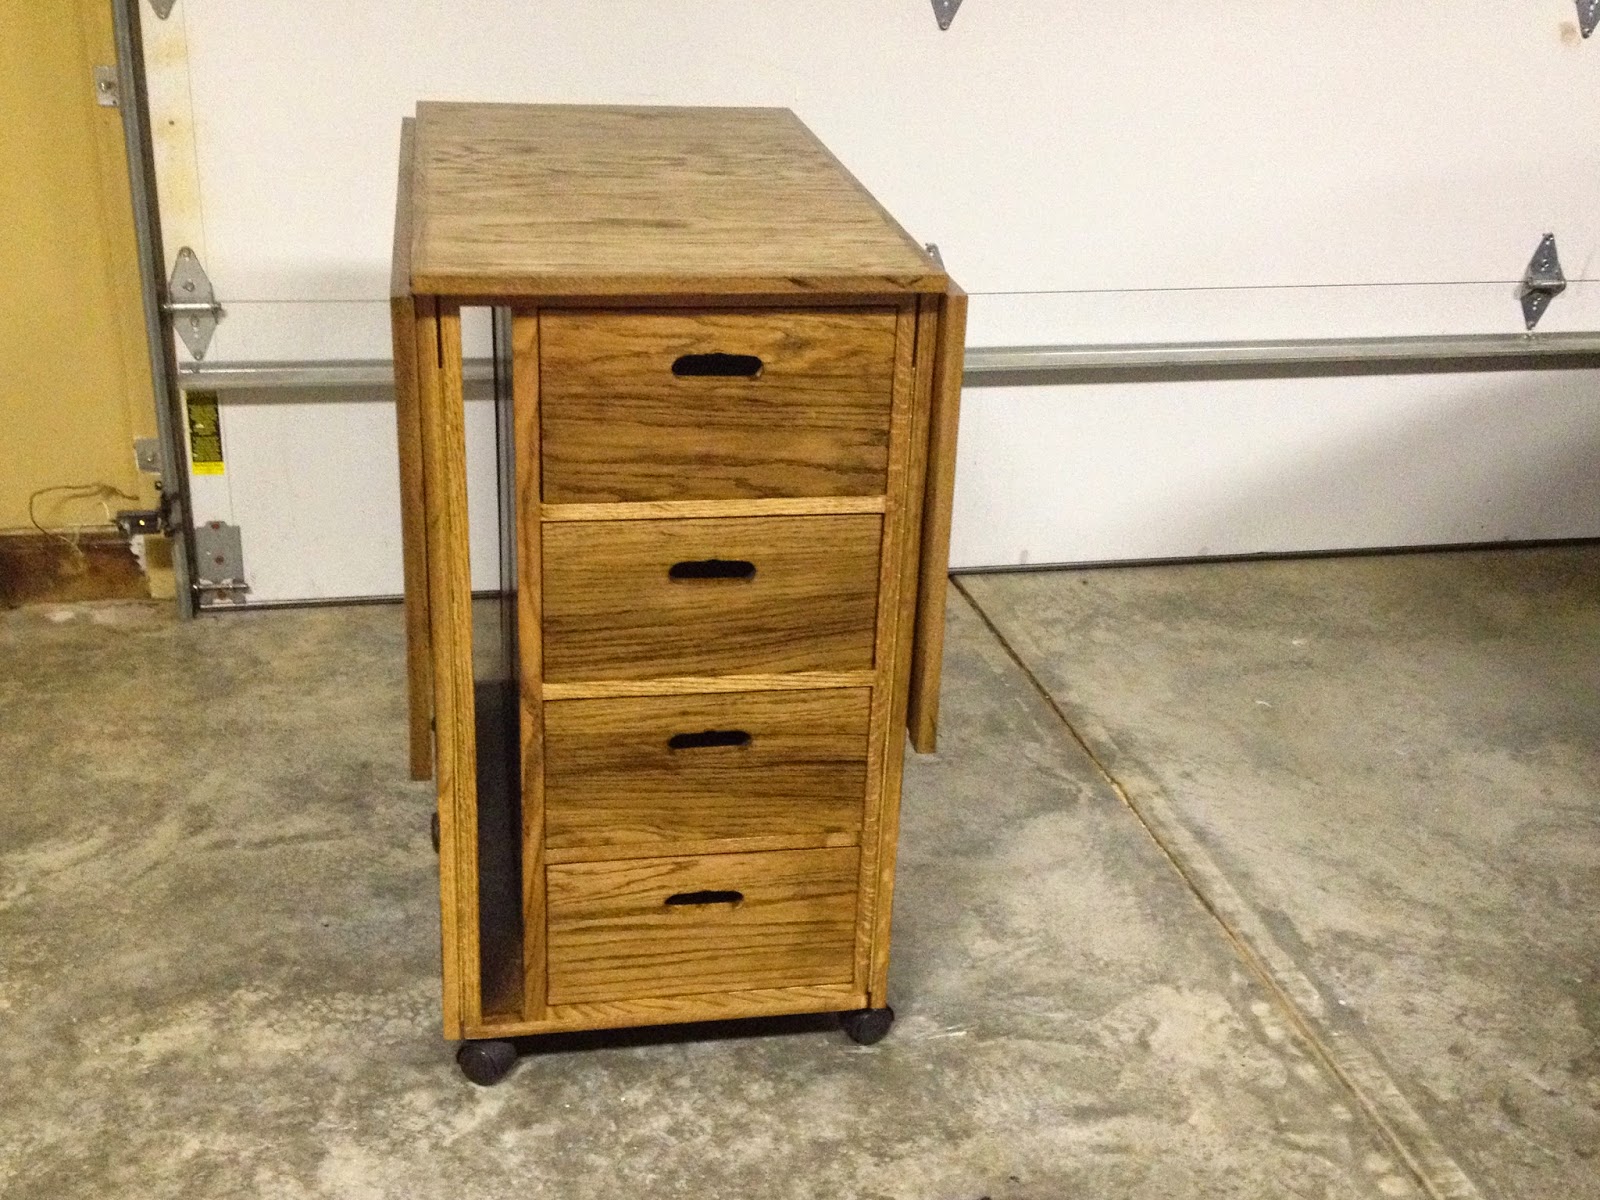
HOMEMADE SEWING TABLE
My sis-in-law's mom is really into sewing and quilting. She asked my hubby to design and build a table for storing fabric and cutting really large pieces. She wanted it to be able to fold up and take up less space when stored. The hubs decided to use solid oak. Here is what he made:
April 28, 2013
HOMEMADE TV STAND - PART 4
April 7, 2013
HOMEMADE THREAD HOLDER
My hubby made this thread box out of MDF and wood glue using a nailgun and a table saw. It took about 2 hours total including the time to paint it. It is really nice to have all of my thread colors handy right there where I need them.
HOMEMADE WOODEN HEADBOARD
We found the idea for this headboard on google images. It took some planning to execute, but it ended up being worth the time and effort. The longest part was waiting for the glue to dry when gluing all of the wood pieces together. It took a long time to sand, stain, and poly. My hubby hand-carved the "M."
SIMPLE DECOR PROJECT
I found this project on Pinterest a few months back and thought it was a cute idea. Very simple, yet unique. I just made the table top out of wood glued together, sanded, stained, and polyed. The table is sitting on top of two white columns that someone gave me for free. The picture frames are hanging from a curtain rod mounted to the wall. I stapled some ribbon to the back of the picture frames and then tied them onto the rod. This is sitting in the corner of our master bedroom.
CORK PROJECTS
We collected several wine corks and I wanted to do something with them besides leave them in a vase or a jar. Here are a couple of ideas.
I have this hanging in my sewing room and plan to use it for little notes pinned to it. I just glued the corks with wood glue to a yardstick.
This is LOVE sign is hanging in our master bedroom. I glued the corks to a scrap piece of plywood that the hubby had in the leftover in the garage.
HOMEMADE TV STAND - PART 3
We finally got around to adding the top part of the TV stand. To see the beginning of this, see Part 1 and Part 2.
It sure does make a difference in the room and allows for more storage.
Here is the finished product with a few in progress pics below.
Here are a couple of pictures in progress of adding the trim. We glued the trim and then painted and touched up to finish.
February 16, 2013
HOMEMADE HIDDEN SHOE STORAGE IN MUD ROOM
My hubby made this awesome built-in project from something we found on PINTEREST.
It is hidden shoe storage with the ability to hang jackets and bags in our mud room.
We love it because it keeps the dirty shoe bottoms out of the carpeted closets!
With the doors open:
Before the doors and white paint:
December 20, 2012
HOMEMADE TV STAND - PART 2
Now the TV stand has doors. YAY for extra storage to hide toys or stereo equipment!
The next part will be to add a bookcase/built-in on top that goes up the wall.
December 15, 2012
HOMEMADE TV STAND
My hubby started making the "built-ins" for our living room. We have a huge fireplace in the middle of the wall that we wanted to use for the TV, so he got creative and started a massive project. This is the first piece of it...it still needs doors and will have a top piece going up the wall above it. We save a lot of money with his creations.
HANG UP KIDS ARTWORK IN PLAYROOM
Once again, YAY for PINTEREST! This is another great idea stolen from someone very creative.
We used the word ARTE because my hubby is Italian and that is the Italian word for art.
Our girls bring home some beautiful art projects from school every day, so we needed a way to hang them up without crowding up the fridge. The "JULIA" project is another idea you can see HERE.
Materials used: letters from Hobby Lobby, wood molding from Lowe's, stain, binder clips, and nails.
Materials used: letters from Hobby Lobby, wood molding from Lowe's, stain, binder clips, and nails.
DO IT YOURSELF BAG/COAT RACK
This is one of the first PINTEREST projects my hubby completed.
I bought the knobs from Hobby Lobby and the piece of wood/molding from Lowe's.
The "FAMILY" sign I also found at Hobby Lobby and it is just sitting on top.
We use this to hang school bags, diaper bags, purses, computer bags, and even jackets sometimes.
HOMEMADE READING CENTER
Another great idea from PINTEREST!
My hubby did a great job making a reading center in the playroom.
The kids love it and it is a great way to organize books.
Subscribe to:
Posts (Atom)


